
Have you ever received a permit, decal, or other printed item with fuzzy/not clear images, logos, or pictures? How can you make sure that the images you see on screen come back to you clear, crisp and meeting your expectations? That surprise is one of the most common headaches in custom printing, and it almost always comes down to image resolution for printing. Understanding a few basics before you submit your art can mean the difference between a proof you approve on the first look and one that gets sent back for a better file – or worse a delivered product that does not meet your expectations. Here’s resolution, image sourcing, and image rights explained in plain language — no design degree required.
Every digital photo or graphic is made of pixels: tiny squares of color that combine to form a picture. Resolution simply describes how many of those pixels an image contains. Print professionals measure that pixel density in DPI (dots per inch) or PPI (pixels per inch), and screens display images at roughly 72 PPI, which is why a photo can look perfectly sharp on a phone or laptop. Actually, printing an item requires far more pixel density, which is why Rydin requires artwork at 300 DPI at the actual size it will print.
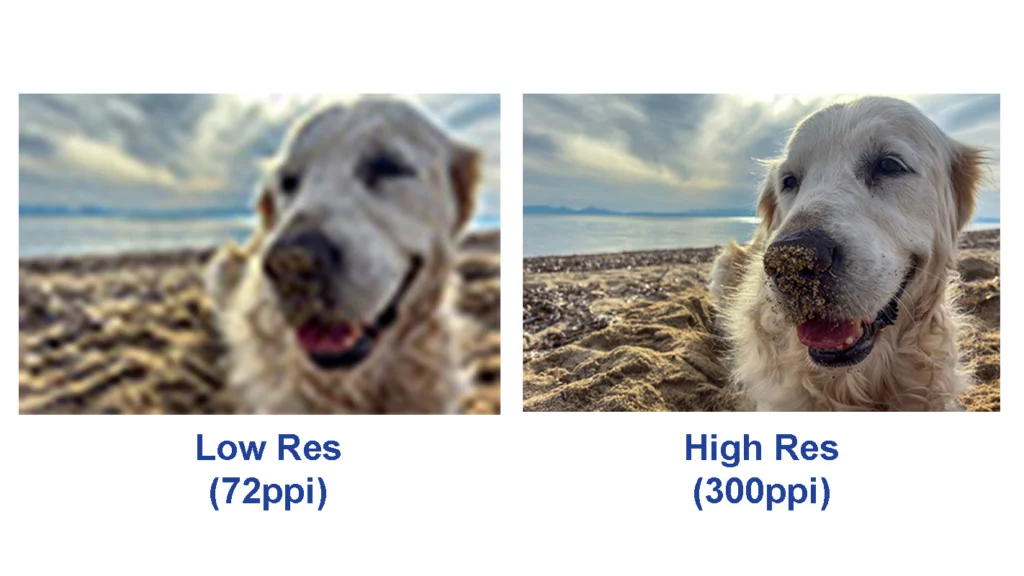
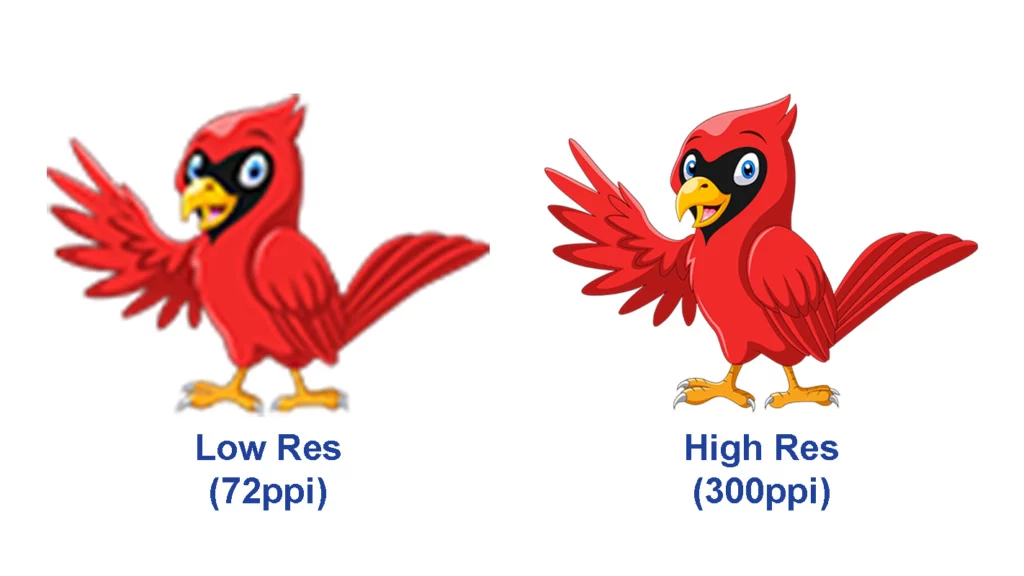
Here’s the part that trips many people up: resolution and physical size are two different things.
How do you figure out how big an image will clearly print? Some simple math.
So – to make it bigger I can edit in Photoshop or have AI make the image better – right? — Not exactly – Increasing the DPI setting in an editing program after the fact does not add real detail back in — it only stretches the same limited pixel information further, so the printed result stays fuzzy. Think of it this way – an image has a limited number of pixels. You can’t add more to make it clearer. Make it larger – the pixels spread out – make it smaller they get closer – increasing the sharpness.
Checking resolution takes less than a minute and can save a full round of proofing delays. On a Windows computer, right-click the image file, select Properties, then open the Details tab to see its pixel dimensions. On a Mac, select the file and press Command+I to open Get Info, then check the More Info section. In Photoshop or a similar editor, open Image > Image Size to see both the pixel dimensions and the current resolution setting in one window. One important note – taking a screenshot, snip or even a copy of an image found online is really easy – but any image acquired by this manner is certainly not suitable for print purposes.
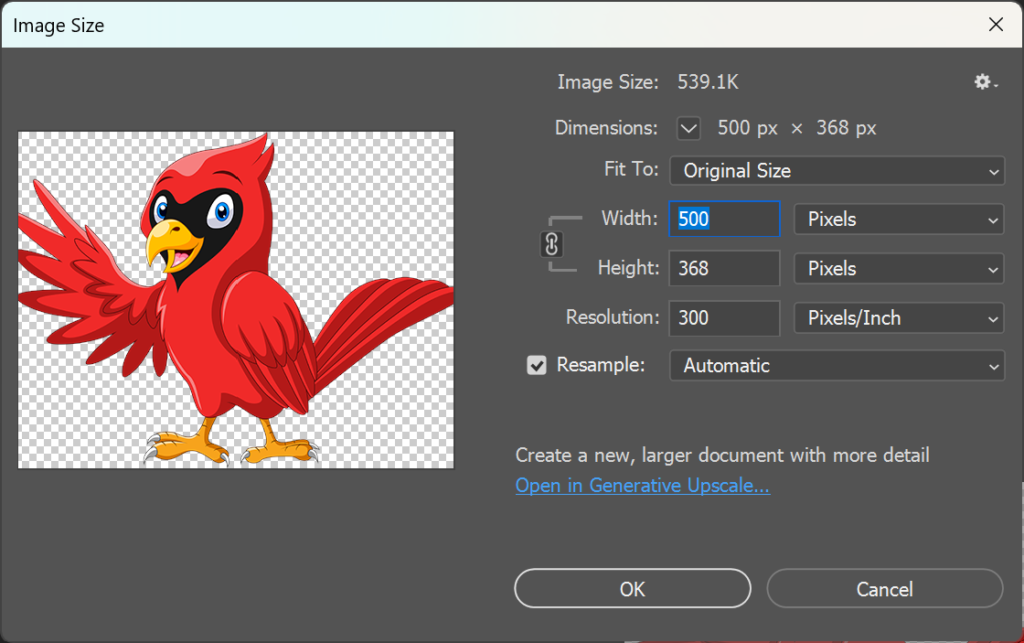
Image Rule of Thumb.
You can expect clear output when an image is at least 1Mg (1million pixels). Of course it does depend on the size of your final printed piece, but for a permit decal or hang tag at least 1mg will do the trick.
Yes – as above – but to a point. You can encounter very high-resolution files that are not supported by the organization printing your piece. For example most printers require uploaded files and images to be less than 10mg. If you keep an uploaded image or file to a reasonable size 1mg to 5mg or so, you should have a final printed piece with nice clear output.
When you develop a printed project, one of the key elements involves around having the legal right to use a particular image. Most organizations have high resolution logo files – such as a school, business, medical practice or other organization may have. Images are needed for websites, brochures, property signage – and even apparel. But, where do you get high quality pictures, art, or logos if you don’t have your own photography or illustrations? Plenty of legitimate sources offer print-quality images – free stock sites such as Unsplash, Pexels, and Pixabay provide high-resolution photos under permissive licenses, and most let you confirm pixel dimensions before downloading. Paid libraries such as Adobe Stock, Getty Images, and Shutterstock offer a larger, more specialized selection, along with clearer licensing paperwork for commercial and institutional use.
Whichever source you use, download the largest file size offered rather than a preview or thumbnail version. Preview images are almost always compressed to low resolution specifically to prevent unauthorized use, so they will not hold up in print even though they look fine on a screen.
Finding an image and having permission to print it are two different things. Under U.S. copyright law, the creator of a photo, illustration, or design owns it automatically, even without a visible watermark or copyright notice, so an image being easy to find or download does not make it free to use.
According to Getty Images, a “royalty-free” license (the most common type on stock sites) is paid once and covers unlimited reuse, while a “rights-managed” license is priced around a specific use — how, where, and how long you use an image — and typically restricts you to that one use.
Public domain and Creative Commons Zero (CC0) images carry no usage restrictions, which makes them a safe option. If you’re unsure whether you have the right to use an image, including AI-generated artwork, treat it as a no until you can confirm the license in writing, and be especially careful with logos, trademarks, or licensed characters. (If you’ve seen it in a movie, on a poster, on TV, or a product that has anything that says “officially licensed product” – you don’t own it unless you have an arrangement with the copyright owner – and could get in legal trouble) As the party submitting the artwork, you’re responsible for confirming you own or have permission to use everything in the file; Rydin cannot verify ownership of submitted art on a customer’s behalf.
Once your image clears the resolution and rights checks above, a few more steps keep your project moving smoothly through production. Submit vector formats* (AI, EPS, PDF, or SVG) whenever possible, since they hold up at any size. If you’re supplying a raster file** such as a PNG, TIFF, JPG, or PSD, confirm it meets the 300 DPI requirement at your artwork’s final printed size, convert fonts to outlines, and embed any placed images rather than linking to them.
Use CMYK color mode when possible, since RGB files shift color when converted for print. For a closer look at how color modes affect your final product, see Rydin’s CMYK vs. RGB vs. Pantone guide. For complete file specifications, bleed and safe-area requirements, and accepted formats, download Rydin’s Art Submission Specifications.
A little prep work up front avoids the most common headache in custom printing: a proof that looks worse than expected. Check your resolution, confirm your image rights, and submit vector art when you can, and your project has a much better shot at looking exactly the way you pictured it.
Have a file you’re not sure about? Request a quote and Rydin’s art team can take a look before you submit your final files.
Most professional print projects, including custom permits, decals, and badges, require 300 DPI (dots per inch) at the artwork’s final printed size. Lower resolutions can work for large-format items viewed from a distance, such as banners, but anything held in the hand or viewed up close needs the full 300 DPI to look sharp.
On Windows, right-click the file, choose Properties, then open the Details tab. On a Mac, select the file and press Command+I to see its pixel dimensions under More Info. In Photoshop or similar software, open Image > Image Size to see both the pixel dimensions and current resolution setting.
PPI (pixels per inch) describes how densely packed the pixels are in a digital image or on a screen, while DPI (dots per inch) technically refers to how many ink dots a printer lays down per inch. In everyday use, most people say “DPI” to mean either one — what matters practically is that your file provides at least 300 pixels of data per inch at final print size.
No. Images are automatically protected by copyright as soon as they’re created, so finding an image online does not give you permission to print it commercially. Look for images explicitly licensed for your use, such as royalty-free stock photos, public domain images, or Creative Commons Zero (CC0) images, and keep a record of the license in case you need to reference it later.
No. Images are automatically protected by copyright as soon as they’re created, so finding an image online does not give you permission to print it commercially. Look for images explicitly licensed for your use, such as royalty-free stock photos, public domain images, or Creative Commons Zero (CC0) images, and keep a record of the license in case you need to reference it later.
*Vector file: A graphic built from mathematical paths (lines, curves, and shapes) rather than pixels. Common formats: AI, EPS, PDF, SVG. Vector art can be resized from a business card to a billboard without losing sharpness, which is why it’s preferred for logos, text, and line art.
**Raster file: A graphic made of a fixed grid of pixels, like a digital photo. Common formats: JPG, PNG, TIFF, PSD, BMP. Raster files look sharp only at the resolution and size they were created for — enlarge one past that point and the pixels spread out, making the image look blurry or blocky.
Sources
